C# - Guess The Word Game Source Code

How To Create a Guess The Word Game in C#

Guess The Word Game In C#


in this c# form tutorial , we'll learn how to create an entertaining Guess the Word game using the C# programming language.

game rules:
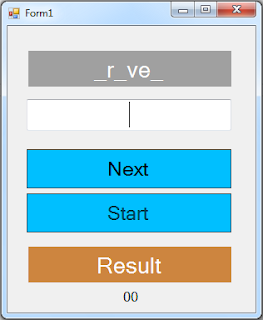
- The PC presents a word with several missing letters, as in '_c _ a _ a', and it is the user's task to correctly guess the word..

tools:
- c# programming language.
- microsoft visual studio express 2013.
- pixabay.com (images).

Watch The Full Project Tutorial


- The Project Source Code


using System;
using System.Collections.Generic;
using System.ComponentModel;
using System.Data;
using System.Drawing;
using System.Linq;
using System.Text;
using System.Threading.Tasks;
using System.Windows.Forms;

namespace Csharp_GuessWordGame
{
    public partial class Form1 : Form
    {
        public Form1()
        {
            InitializeComponent();
        }

        string[] words = new[]{"driver","signature","history", "response",
                               "president","highway", "computer", "appartment", 
                               "forest", "chocolat", "lawyer"};
        int index = 0, score = 0;
        Random random = new Random();

        // button start
        private void button_start_Click(object sender, EventArgs e)
        {
            index = 0;
            score = 0;
            label_result.Text = "Result";
            label_result.BackColor = Color.Peru;
            label_score.Text = "00";
            displayWord();
            button_next.Enabled = true;
            button_start.Enabled = false;
        }

        // button next
        private void button_next_Click(object sender, EventArgs e)
        {
            checkWord();
            if(index < words.Length - 1)
            {
                index++;
                displayWord();
            }
            
        }

        // create a function to display the words
        public void displayWord()
        {
            int pos1 = random.Next(words[index].Length);
            int pos2 = random.Next(words[index].Length);
            int pos3 = random.Next(words[index].Length);

            string word = words[index];

            word = word.Remove(pos1, 1).Insert(pos1, "_");
            word = word.Remove(pos2, 1).Insert(pos2, "_");
            word = word.Remove(pos3, 1).Insert(pos3, "_");

            label_word.Text = word;

        }

        // create a function to check if the guessed word is correct
        public void checkWord()
        {
            if(textBox_guess.Text.ToLower().Equals(words[index]))
            {
                label_result.Text = "Correct";
                label_result.BackColor = Color.Green;
                score++;
            }
            else
            {
                label_result.Text = "Wrong";
                label_result.BackColor = Color.Red;
            }
            if(index == words.Length - 1)
            {
                button_start.Enabled = true;
                button_next.Enabled = false;
            }
            textBox_guess.Text = "";
            label_score.Text = score.ToString() + " / " + words.Length.ToString();
        }
    }
}


OUTPUT:
Word Guessing Game in C#

C# Word Guessing Game

Guess The Word Game In C#

Guess The Word Game In C#


C# Quiz App Source Code

How To Make a C# Quiz Project Using Visual Studio


In This C# Tutorial  We Will See How To Create a Simple Quiz App With Windows Form Using Csharp Programming Language And Visual Studio Editor.


Project Source Code:

using System;
using System.Collections.Generic;
using System.ComponentModel;
using System.Data;
using System.Drawing;
using System.Linq;
using System.Text;
using System.Threading.Tasks;
using System.Windows.Forms;

namespace Quiz_Application
{
    public partial class Quiz_Form : Form
    {
        public Quiz_Form()
        {
            InitializeComponent();
        }

        // create an array of questions
        string[] questions = { "200 - 173 = ?", "100 + 1000 = ?", "300 x 50 = ?", "400 / 10 = ?", "100 - 100 = ?", };

        // create an array of options
        // 5 questions
        // 5 options
        // the last option will be the correct answer
        // and we will use it to check if the user selected the correct answer
        string[,] options = new string[5, 5] {{"100","123","27","28","27"}, 
                                               {"1100","500","900","2000","1100"},
                                                {"1700","15000","20000","30000","15000"},
                                                 {"4","4000","400","40","40"},
                                                  {"0","1","90","100","0"}};

        int index = 0, correct = 0;

        // create a function to check if the user has selected the correct answer
        public void checkAnswer(RadioButton rbt)
        {
            // the 4th item(we start from 0) is the correct answer in every question
            if(rbt.Text.Equals(options[index,4]))
            {
                correct++;
                // you can make the correct answer become green
                // and the wrang anwer red
                rbt.BackColor = Color.Green;
            }
            else
            {
                rbt.BackColor = Color.Red;
            }

            index++;
            // disable radiobuttons
            setEnable(false);
        }

        // create a function to uncheck radiobuttons
        public void uncheck()
        {
            radioButtonOption_1.Checked = false;
            radioButtonOption_2.Checked = false;
            radioButtonOption_3.Checked = false;
            radioButtonOption_4.Checked = false;
        }

        // create a function to change radiobuttons backcolor and color
        public void resetRadio()
        {
            // we are gonna use the foreach loop 
            // the color change automatically when disabled
            foreach(Control c in this.Controls)
            {
                if(c is RadioButton)
                {
                    RadioButton rdb = (RadioButton)c;
                    rdb.BackColor = Color.White;
                }
            }
        }

        // create a function to enable/disable radiobuttons
        public void setEnable(Boolean yes_or_no)
        {
            radioButtonOption_1.Enabled = yes_or_no;
            radioButtonOption_2.Enabled = yes_or_no;
            radioButtonOption_3.Enabled = yes_or_no;
            radioButtonOption_4.Enabled = yes_or_no;
        }

        private void Quiz_Form_Load(object sender, EventArgs e)
        {
            // call the button click even
            button_Next.PerformClick();
        }

        private void button_Next_Click(object sender, EventArgs e)
        {
            resetRadio();

            if (button_Next.Text.Equals("Restart The Quiz"))
            {
                index = 0;
                correct = 0;
                richTextBox_Question.BackColor = Color.White;
                richTextBox_Question.ForeColor = Color.Black;
                button_Next.Text = "Next";
            }

            if(index == questions.Length)
            {
                richTextBox_Question.Text = "Your Score:" + correct + " / " + questions.Length;

                if(correct >= (float)questions.Length/2)
                {
                    richTextBox_Question.BackColor = Color.Green;
                    richTextBox_Question.ForeColor = Color.White;
                }
                else
                {
                    richTextBox_Question.BackColor = Color.Red;
                    richTextBox_Question.ForeColor = Color.White;
                }

                button_Next.Text = "Restart The Quiz";

            }

            else
            {
                // enable radiobuttons
                setEnable(true);
                // uncheck radiobuttons
                uncheck();
                // display the question
                richTextBox_Question.Text = questions[index];
                // display options
                radioButtonOption_1.Text = options[index, 0];
                radioButtonOption_2.Text = options[index, 1];
                radioButtonOption_3.Text = options[index, 2];
                radioButtonOption_4.Text = options[index, 3];

                if(index == questions.Length - 1)
                {
                    button_Next.Text = "Finish And See Your Results";
                }
            }
        }

        private void radioButtonOption_1_Click(object sender, EventArgs e)
        {
            checkAnswer(radioButtonOption_1);
        }

        private void radioButtonOption_2_Click(object sender, EventArgs e)
        {
            checkAnswer(radioButtonOption_2);
        }

        private void radioButtonOption_3_Click(object sender, EventArgs e)
        {
            checkAnswer(radioButtonOption_3);
        }

        private void radioButtonOption_4_Click(object sender, EventArgs e)
        {
            checkAnswer(radioButtonOption_4);
        }
    }
}


///////////////OUTPUT:


if you want the source code click on the download button below


C# Save Image From PictureBox to a Folder

How To Store an Image From PictureBox To a directory Using C#

Save Picture From PictureBox Using C#

In This C# Tutorial  We Will See How To Upload a Picture To a PictureBox Control on a Button Click Event And Save The Image Into a Specific Folder With a Customize Name In Csharp Programming Language And Visual Studio Editor.


Project Source Code:

using System;
using System.Collections.Generic;
using System.ComponentModel;
using System.Data;
using System.Drawing;
using System.Linq;
using System.Text;
using System.Threading.Tasks;
using System.Windows.Forms;
using System.Drawing.Imaging;

namespace Csharp_Tutorials
{
    public partial class save_image_from_picturebox : Form
    {
        public save_image_from_picturebox()
        {
            InitializeComponent();
        }

        // upload image 
        private void buttonUpload_Click(object sender, EventArgs e)
        {
            OpenFileDialog opf = new OpenFileDialog();

            // chose the images type
            opf.Filter = "Choose Image(*.jpg;*.png;*.gif)|*.jpg;*.png;*.gif";

            if (opf.ShowDialog() == DialogResult.OK)
            {
                // get the image returned by OpenFileDialog 
                pictureBox1.Image = Image.FromFile(opf.FileName);
            }
        }

        // button save
        private void buttonSave_Click(object sender, EventArgs e)
        {

            SaveFileDialog svf = new SaveFileDialog();

            // set a default name using date and time
            string imgName = DateTime.Now.Year + "_" + DateTime.Now.Month + "_" + DateTime.Now.Day + "_" + DateTime.Now.Hour + "_" + DateTime.Now.Second + "." + ImageFormat.Jpeg;

            svf.FileName = imgName;

            if(svf.ShowDialog() == DialogResult.OK)
            {
                pictureBox1.Image.Save(svf.FileName);
            }

        }
    }
}


///////////////OUTPUT:

save picture using c#


Java Car Rental Management System Source Code

Create a Car Rental Management System Project Using Java And MySQL Database

Java Car Rental Management System Source Code

in this java complete project tutorial we will see how to create a car-rental system in java programming language and mysql database.

tools:
- java programming language.
- netbeans 8.2.
- mysql database.
- phpmyadmin.
- xampp server.
- pixabay.com ( website for free images ).
- canva.com ( if  you want to create images / logo ).

Watch This Full Demo

1 - The Login Form

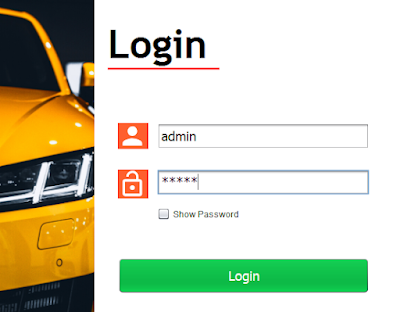
the login form will allow the Users to login into the Car Rental System Dashboard Form.
the user need to enter his username and password before clicking the login button.
you can show and hide the password using the checkbox.


Java Car Rental System Login Form

Java Car Rental System Login Form

Java Car Rental System Login Form


2 - The Car-Rental Dashboard Form

after the user successfully login, he will see this application dashboard with a menu using jpanel and jlabels.
plus some data showing the number of cars, customers and booked cars.
if the user type is "Admin" he will see the "Users" tab to manage users.

Java Car Rental System Dashboard Form

if the user type is "User" he will not see the manage users tab.

Java Car Rental System Dashboard Form

3 - The Cars Brand Form

- this form allow the users to add, edit remove brands, and display all the brands in a jtable.
- plus navigation buttons (first, next, previous, last).

Java Car Rental System Brands Form 1

Java Car Rental System Brands Form 2

Java Car Rental System Brands Form 3

Java Car Rental System Brands Form 4

Java Car Rental System Brands Form 5

4 - The Customers Form

here the user can add a new author to the system. 
view all authors in a jtable.
edit, remove the selected one from the jtable.

Java Car Rental System Customers Form

Java Car Rental System Customers Form 2

5 - The Cars Form

ADD MEMBER: This is a simple form where the user can add a new member to the system.

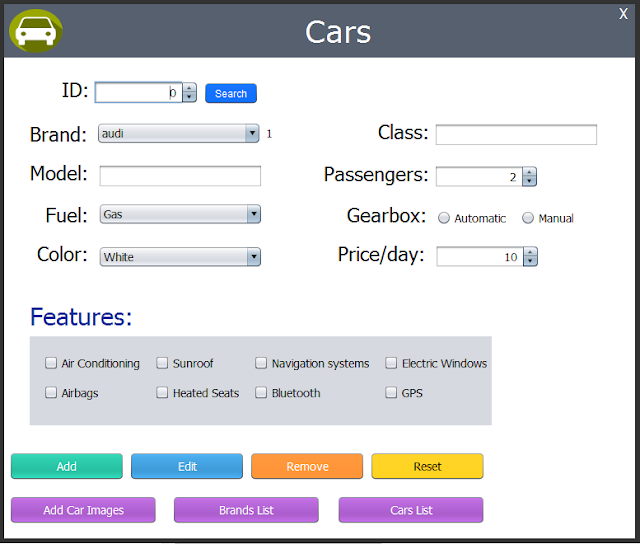
Java Car Rental System Cars Form

Java Car Rental System Cars Form 2

Java Car Rental System Cars Form 3

EDIT MEMBER: This form allow the user edit the selected  member using a search button.

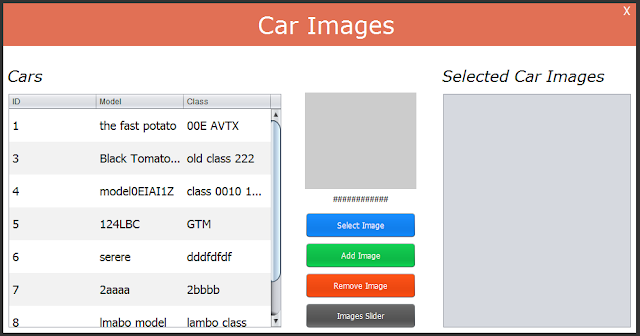
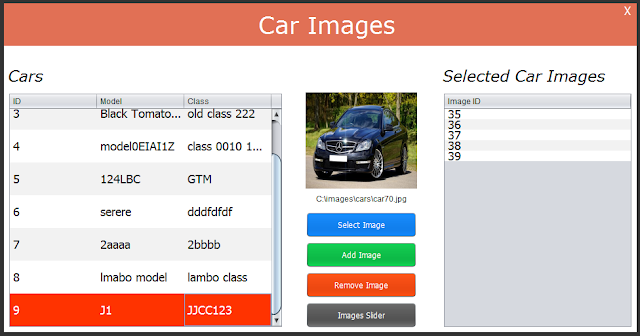
Java Car Rental System Car Images Form

Java Car Rental System Car Images Form 2

Java Car Rental System Car Images Form 3

Java Car Rental System Car Images Form 4

Java Car Rental System Car Images Form 5

DELETE MEMBER: here you can enter the member id and click delete ( if the id exists the member will be deleted ).

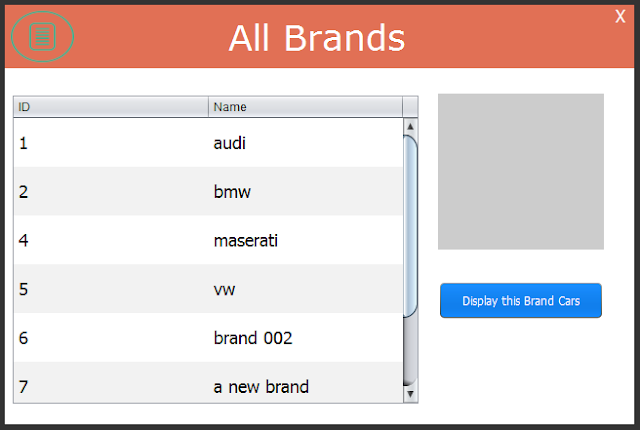
Java Car Rental System All Brands Form

Java Car Rental System All Brands Form 2

Java Car Rental System All Brands Form 3


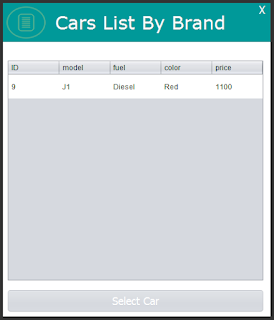
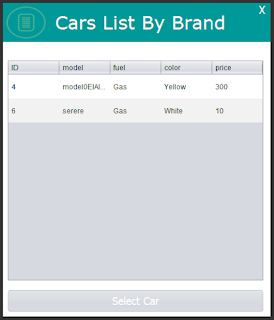
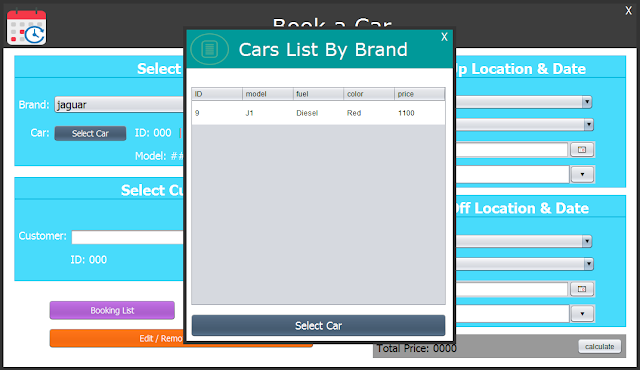
Java Car Rental System Cars List In a Brand Form

Java Car Rental System Cars List In a Brand Form 2

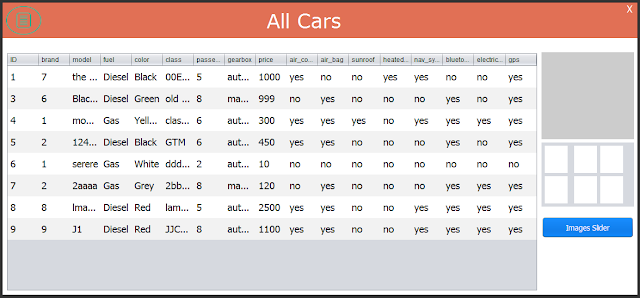
Java Car Rental System Cars List Form 1

Java Car Rental System Cars List Form 2

Java Car Rental System Cars List Form 3

Java Car Rental System Cars List Form 4


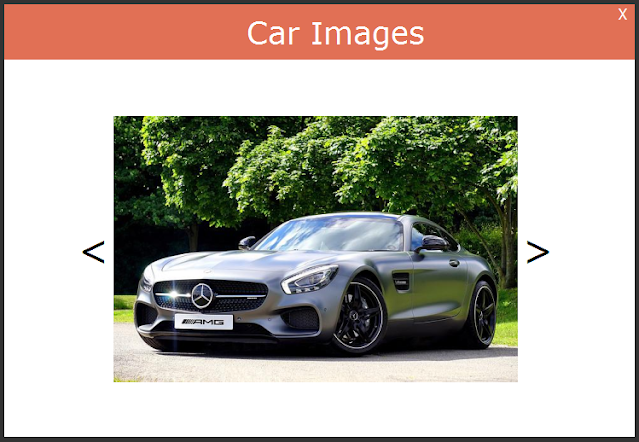
Java Car Rental System Cars Images Slider Form

8 - The Location Form

in this form you can issue a book to a specific member for a specific date.

Java Car Rental System Location Form

7 - The Booking Form

ADD BOOK: this form is where you can add a new book to the system.
you can see a combobox populated with all genres.
a button "select author" to show a list of authors to allow the user to select one.


Java Car Rental System Booking Form 1

Java Car Rental System Booking Form 2

Java Car Rental System Booking Form 3

Java Car Rental System Booking Form 4

Java Car Rental System Booking Form 5

Java Car Rental System Booking Form 6


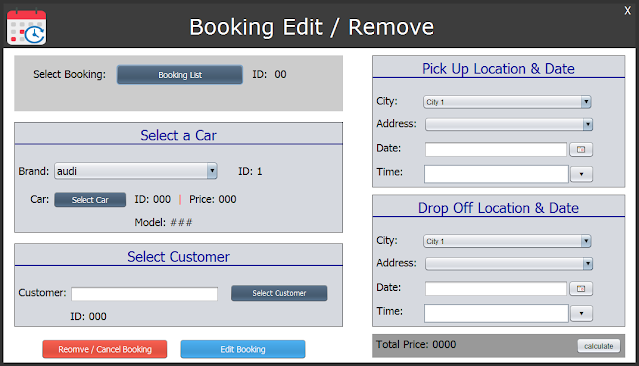
EDIT BOOK: here is where the user can edit a book info.
the user can select a book by entering the id or the isbn and clicking the button "search by id or isbn".


Java Car Rental System Edit and Remove Booking Form 1

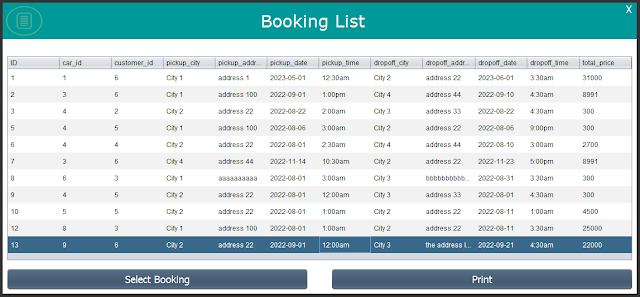
Java Car Rental System Booking List Form

Java Car Rental System Edit and Remove Booking Form 3

Java Car Rental System Edit and Remove Booking Form 4

Java Car Rental System Booking Edited


DELETE BOOK: to delete a book just enter the book id in this form and click "Remove Book" button.


Java Car Rental System Booking List Form 1

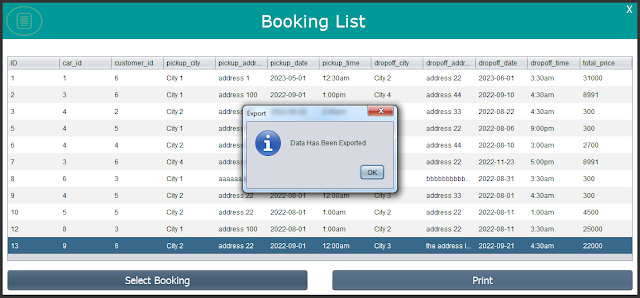
Java Car Rental System Booking List Form 2

Java Car Rental System Print Booking Form


SHOW ALL BOOKS: this form display all books in a table.


9 - The Library System - Manage Users

in this form you can manage the users.
this form contains:
1 - table with all users:
2 - a button to add a new user.
3 - a button to edit the selected user.
4 - a button to remove the selected user.


Java Car Rental System Users Form 1

Java Car Rental System Users Form 2

Java Car Rental System Users Form 3


if you want the source code click on the download button below