Java - Using jRadioButton With MySQL Database

How To Use A RadioButton With MySQL Database In Java NetBeans

Using jRadioButton With MySQL Database In Java


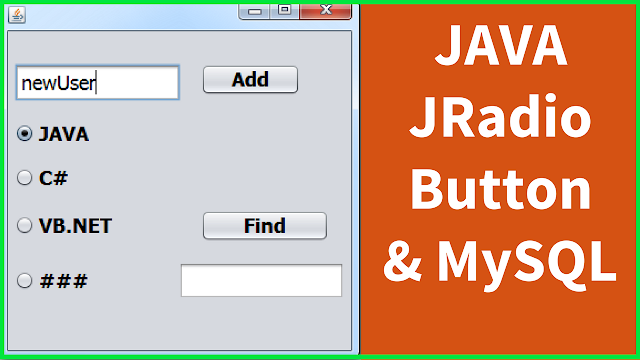
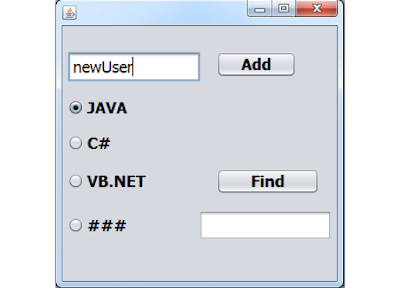
In this Java Tutorial we will see How To Use A jRadioButton Control With MySQL Database To:
- get value from the selected redio button and insert it into database .
- get value from mysql and select the specific radio button.
Using Java  Programming Language In NetBeans Editor And MySQL Database.


PART1

PART2

Project Source Code:

// create a buttongroup and add our radioButtons to this group
// to do that add this code below "initComponents();"
        ButtonGroup bgr = new ButtonGroup();
        bgr.add(jRadioButton_JAVA);
        bgr.add(jRadioButton_CSHARP);
        bgr.add(jRadioButton_NONE);
        bgr.add(jRadioButton_VBNET);


 // create a function to connect with mysql database
    public static Connection getConnection()
    {
        Connection con = null;
        
         try {

            Class.forName("com.mysql.jdbc.Driver");
             con = DriverManager.getConnection("jdbc:mysql://localhost/test", "root", "");
        } catch (Exception ex) {

             System.out.println(ex.getMessage());

        }
        return con;
    }
    
// button insert into mysql
private void jButtonInsertActionPerformed(java.awt.event.ActionEvent evt) {                                              
    
        Connection con = getConnection();
        PreparedStatement ps;
        
        String username = jTextFieldUsername.getText();
        String lang;
        
        if(jRadioButton_VBNET.isSelected())
        {
            // or
            // lang = jRadioButton_VBNET.getText()
            lang = "VB.NET";
        }
        
        else if(jRadioButton_CSHARP.isSelected())
        {
            lang = "C#";
        }
        else if(jRadioButton_JAVA.isSelected())
        {
            lang = "JAVA";
        }
        
        else
        {
            // the dafault value
            lang = "NONE";
        }
        
        
        try{
            
            ps = con.prepareStatement("INSERT INTO users(username,lang) VALUES(?,?)");
            ps.setString(1, username);
            ps.setString(2, lang);
            
            if(ps.executeUpdate() > 0)
            {
                JOptionPane.showMessageDialog(null, "New User Added");
            }else
            {
                JOptionPane.showMessageDialog(null, "ERROR");
            }
        }catch(Exception ex){
            
        System.out.println(ex.getMessage());
    }
        
    }                                             

// button search
    private void jButtonFindActionPerformed(java.awt.event.ActionEvent evt) {                                            
        
        Connection con = getConnection();
        PreparedStatement ps;
        
        ResultSet rs;
        
        try {
            ps = con.prepareStatement("SELECT * FROM users WHERE id = ?");
            ps.setInt(1, Integer.valueOf(jTextFieldID.getText()));
            rs  = ps.executeQuery();
            
            while(rs.next()){
                jTextFieldUsername.setText(rs.getString(2));
                
         if(rs.getString(3).equals("JAVA"))
        {
            jRadioButton_JAVA.setSelected(true);
        }
        
        else if(rs.getString(3).equals("C#"))
        {
            jRadioButton_CSHARP.setSelected(true);
        }
        else if(rs.getString(3).equals("VB.NET"))
        {
            jRadioButton_VBNET.setSelected(true);
        }
        
        else
        {
            // the dafault value
            jRadioButton_NONE.setSelected(true);
        }
            }
            
        } catch (SQLException ex) {
            Logger.getLogger(RadioButton_And_MySQL.class.getName()).log(Level.SEVERE, null, ex);
        }
    }                                           

OutPut:

Using RadioButton With Database In Java


JavaScript - Display Selected HTML Table Image Into DIV

How To Show Image Into IMG From HTML TABLE Using Javascript

How To Display Image Into IMG From HTML TABLE Using Javascript


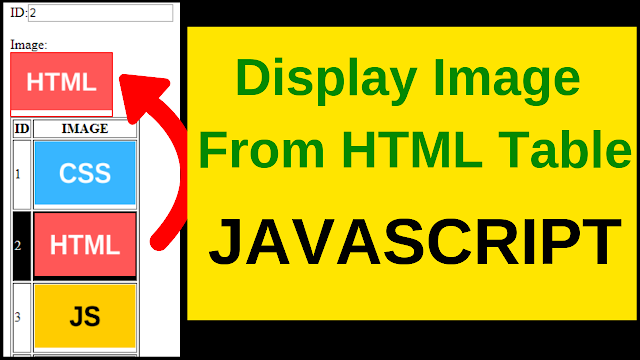
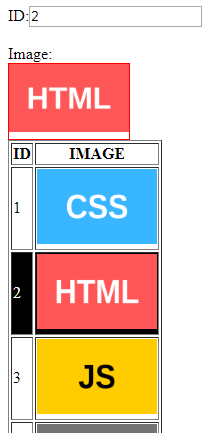
In This Javascript Tutorial we will See How To Display Image From The Selected HTML Table Row Into a DIV Using The "Background Image", Or Into an IMG Using "src", On Row Click Event Using JS And Netbeans Editor .


Project Source Code:


<!DOCTYPE html>

<html>
    <head>
        <title>Display Image From HTML Table Selected row</title>
        <meta charset="UTF-8">
        <meta name="viewport" content="width=device-width, initial-scale=1.0">
   
         <style>
             
             table tr:not(:first-child){ cursor: pointer; transition: all .25s ease-in-out; }
             
             table tr:not(:first-child):hover{ background-color: #000; color: #fff; }
             
             img{ width:120px; height: 75px; }
             
             div{width:120px; height: 75px; border:1px solid red; 
                 background-size:contain; background-repeat: no-repeat}
             
        </style>
        
    </head>
    <body>
       
        ID:<input type="text" name="age" id="imgId"><br><br>
        Image:<!--<img src="images/img0.png" alt="default image" id="pic">-->
        <div id="divpic"></div>
        
        <table id="table" border="1">
            <tr>
                <th>ID</th>
                <th>IMAGE</th>
            </tr>
            
            <tr>
                <td>1</td>
                <td><img src="images/img1.png" alt="image 1"></td>
            </tr>
            
            <tr>
                <td>2</td>
                <td><img src="images/img2.png" alt="image 2"></td>
            </tr>
            
            <tr>
                <td>3</td>
                <td><img src="images/img3.png" alt="image 3"></td>
            </tr>
            
            <tr>
                <td>4</td>
                <td><img src="images/img4.png" alt="image 4"></td>
            </tr>
            
            <tr>
                <td>5</td>
                <td><img src="images/img5.png" alt="image 5"></td>
            </tr>
        </table>
        
        <script>
            
            var table = document.getElementById('table');
            
            for(var i = 1; i < table.rows.length; i++)
            {
                table.rows[i].onclick = function(){
                    
                    document.getElementById('imgId').value = this.cells[0].innerHTML;
                    // for img
                    //document.getElementById('pic').setAttribute('src',this.cells[1].childNodes[0].src);
                    // for div
                    document.getElementById('divpic').style.backgroundImage = "url("+this.cells[1].childNodes[0].src+")";
                };
            }
            
        </script>
        
    </body>
</html>


OUTPUT:

Display Selected HTML Table Image Into IMG Using JS