Inventory Management System Source Code Using Python Tkinter And MySQL Database
in this python project demo you will see how to use this python inventory management system created using tkinter with mysql database.
tools:
- python programming language.
- VsCode.
- mysql database.
- canva.com for images.
- flatuicolorpicker.com for colors.
- text file to generate order.
- text file to generate order.
Watch This Full Project Demo
1 - Login Form
the login form allow the ADMIN and the other USERS to login into the application Home Form
if the user enter wrong username or password a message will show up
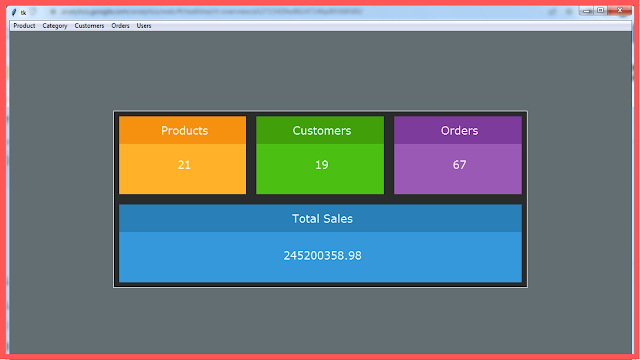
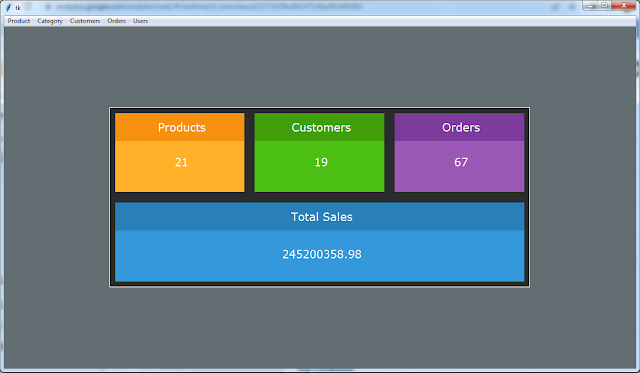
2 - Home Form
if the user type is ADMIN a "user" tab will be visible on the top menu.
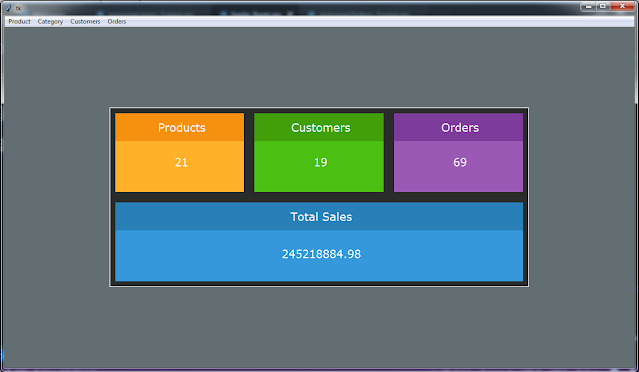
this form contains some inventory analytics
if the user type is USER the "user" tab will be invisible
3 - Product Section
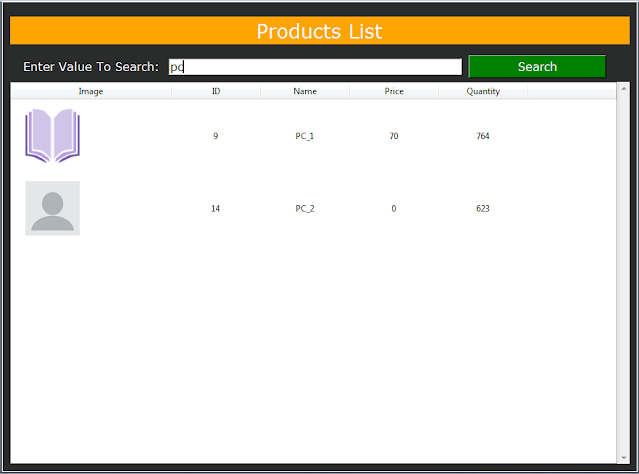
when you click on the Product tab, you can select add, edit, remove or show list of products.
- a frame contains all products displayed in a treeviesw.
- when you enter a value in the search box and click search button, only the products that contain this value will be shown in the treeview.
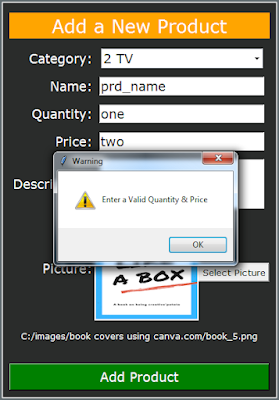
if you click "Add" on the menu the Add Product Frame will show up, this form allow you to enter the new product data and insert it into mysql database.
on the top form you can see a combobox categories, this combobox is populated from category table in the mysql database with the category name and id.
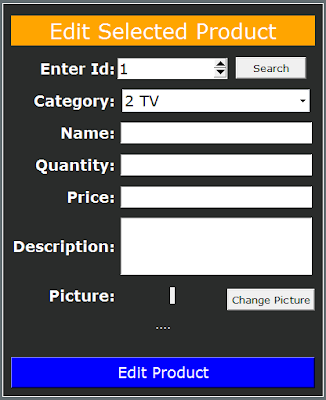
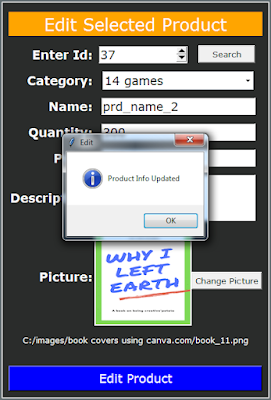
and if you want to update a product, click edit on the menu.
the "Edit Selected Product" will show up.
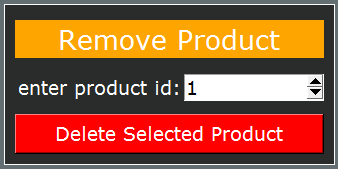
when you want to delete a product just select the "Remove" from the menu and the "Remove Product" frame will show up.
enter a valid product id and click "Delete Selected Product"
4 - Category Section
now if you want to manage the categories you have to go to the category tab.
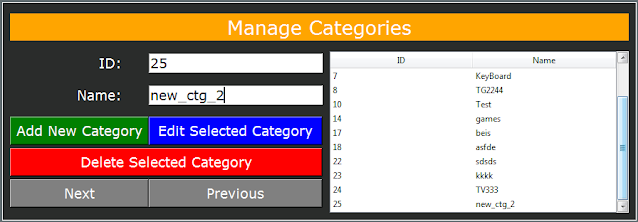
- when you click on the category tab and click manage, the MANAGE CATEGORIES FORM will show up.
- when you click on the category tab and click manage, the MANAGE CATEGORIES FORM will show up.
- you can insert a new category by just entering the name on the textfield and click the "Add New Category" button.
- the MANAGE CATEGORIES FORM contain a treeview with all the categories name and id.
- if you select a category from the treeview -> the data of the selected category will be displayed on the textfields.
- also a navigation buttons for next and previous .
5 - Customer Section
in this section you can:
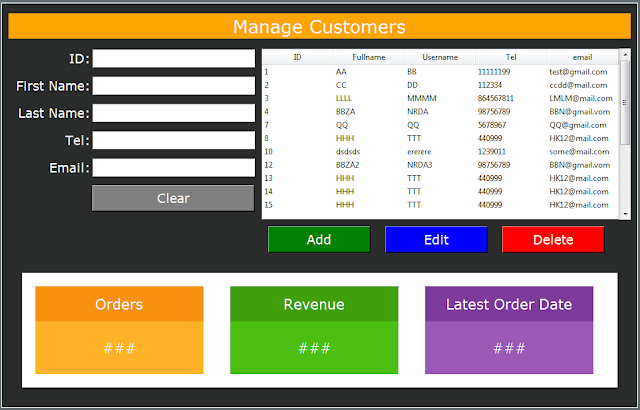
- see all the customers in database displayed on treeview.
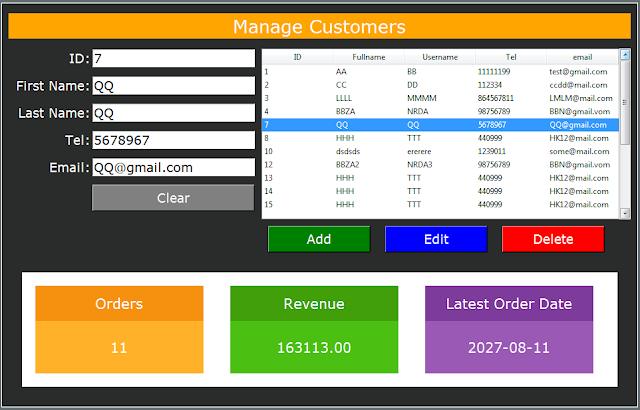
- get the selected customer data from treeview and set it into textfields.
- insert a new customer.
- update the selected customer data.
- delete the selected customer.
- clear all textfields text using the "clear" buttons.
- display the selected customer orders count.
- display the selected customer total orders amount.
- display the selected customer last order date.
6 - Order Section
when you click on the order tab and select manage, the MANAGE ORDERS FORM will show up, and this form contain:
- 1 treeview with all customers.
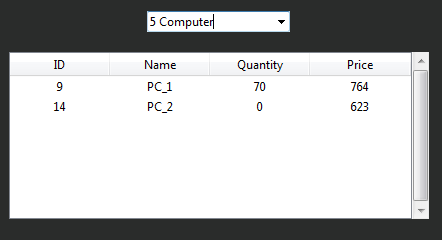
- 1 treeview for products ( show products depending on combobox category ).
- 1 treeview to display the products you want to add into the order .
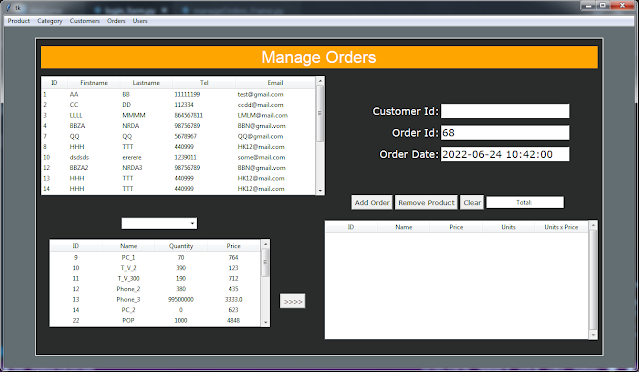
on the treeview for customers, if you select a row the customer id will be set into the textfield id.
now if you want to add products to the order follow those steps:
1 - select the product you want from the products treeview (you can select the category from combobx ).
2 - when you click on the product you want to add -> click on the ">>>" button enter the quantity you want, you can't let the box empty or enter a heigher quantity than the one available on the database.
and if everything is ok, the selected product will be add to the order treeview with the quantity you want.
- in the treeview you can see a column "Units X Price" where we calculate the total price for this product.
- on the top you can see the total amount of all products in the order.
- on the top you can see the total amount of all products in the order.
- the "Remove Product" button allow you to remove the selected product from the order treeview. - the "Clear" button allow you to remove all products from the order treeview an set total to 0.
if all is good, click the "Add Order" button to add the new order with the details into the database.
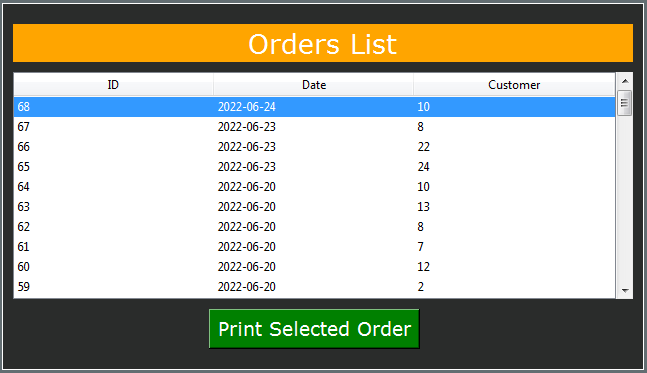
- now if you want to see all orders, go to the order tab on the menu and select "Show Orders".
when you click on "Print Selected Order" the selected order will be printed into a text file.

7 - User Section
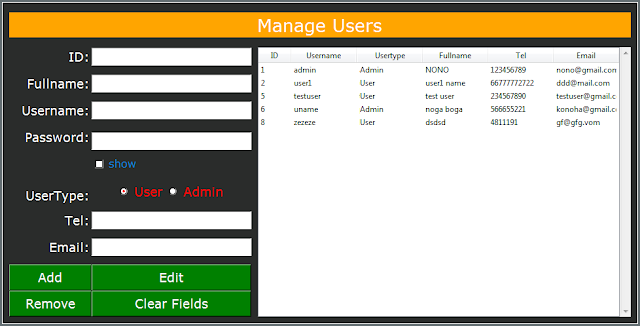
and the last one is the user tab ( for admins only ), so when you click on it the MANAGE USERS FORM will show up with all the users displayed on a treeview.
- if you select a user from the treeview all the data will be set into textfields so you can delete or edit the user informations.
- and to add a new user enter the user informations and click on the "Add" button.
- and to add a new user enter the user informations and click on the "Add" button.
you can show and hide password by clicking on the show checkbox
