VB.Net Transfer DataGridView Data To TreeView

How To Set DataGridView Values Into TreeView Nodes Using Visual Basic .Net

Transfer DataGridView Data To TreeView Using VB.Net

In this VB.NET Tutorial we will see How To Get DataGridView Rows Data And Set It Into TreeView Node Using For Loop And Datatable On Button Click Event Using Visual Basic.Net Programming Language And Visual  Studio Editor.


Project Source Code:


Public Class Datagridview_to_TreeView

    Private Sub Datagridview_to_TreeView_Load(sender As Object, e As EventArgs) Handles MyBase.Load

        ' Create a new datatable
        Dim table As New DataTable("Table")

        ' Add columns to your datatable, 
        ' with the name of the columns and their type 

        table.Columns.Add("Id", Type.GetType("System.Int32"))
        table.Columns.Add("First Name", Type.GetType("System.String"))
        table.Columns.Add("Last Name", Type.GetType("System.String"))
        table.Columns.Add("Age", Type.GetType("System.Int32"))


        ' Add rows to the datatable with some data

        table.Rows.Add(1, "BBBB", "YYYYY", 21)
        table.Rows.Add(2, "SSDD", "hGSQ", 33)
        table.Rows.Add(3, "fgfgd", "jgfdd", 53)
        table.Rows.Add(4, "cvfghyghj", "sdrgtyh", 19)
        table.Rows.Add(5, "hghfd", "ghjgdf", 36)
        table.Rows.Add(6, "cvvdfgh", "juyrfdvc", 63)

        ' now set the datagridview datasource equals to your datatable name

        DataGridView1.DataSource = table

    End Sub

    ' button transfer
    Private Sub Button1_Click(sender As Object, e As EventArgs) Handles Button1.Click

        ' go through all datagridview rows
        For i As Integer = 0 To DataGridView1.Rows.Count - 2 Step +1

            Dim rowIndex As Integer = i + 1

            ' create a new NODE
            Dim node As New TreeNode("Row Index => " + rowIndex.ToString())

            ' go through the current row columns
            For j As Integer = 0 To DataGridView1.Columns.Count - 1 Step +1

                ' add child node to the NODE
                node.Nodes.Add(DataGridView1.Rows(i).Cells(j).Value.ToString())

            Next j

            ' add node to treeview
            TreeView1.Nodes.Add(node)

        Next i

    End Sub
End Class


OutPut:

DataGridView Data To TreeView Using VB.Net


PHP Databases Manager Application Source Code

Databases Management System in PHP with Source code

PHP Databases Management System

in this php project demo you will see how to use this System To Manage Your Database Tables and Data Or Create New Ones .

this Online Application Will Help Manage Your Databases With a Beautiful User Interface.

Tools:
- Apache server.
- PHP programming Language.
- JavaScript JS, HTML, CSS.
- MySQL Database.

Framework:
- CodeIgniter.

Watch This Project Overview Video


1 - Login

a beautiful login and logout system with forgot your password system to reset the user password


2 - Navigation

you can navigate in this application using the top menu


3 - Database

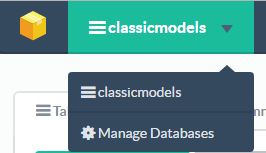
if you want to select a database to manage or create a new one.
click on the select options at the top


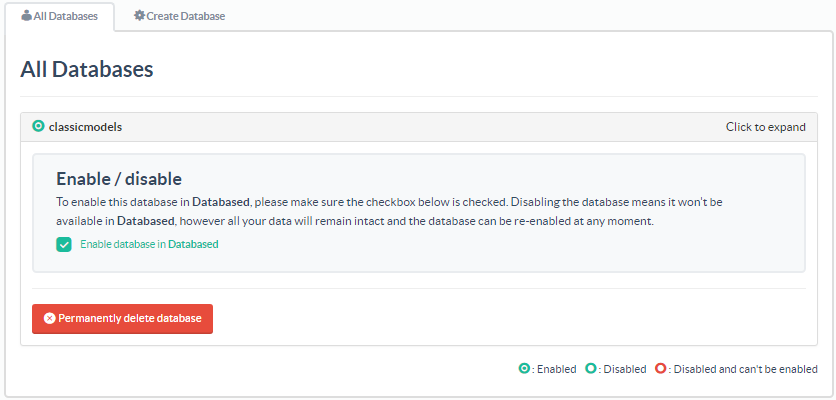
to create a new database click on "Manage Databases".


- and select "Create Database" , now just fill the name of the database.


4 - Records

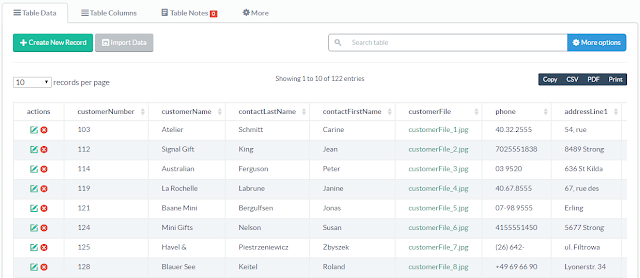
when you login into the application you will see a page with a list of records from the default database. here you will see the selected table data.
you can select the number of records to show ( you can select from 10 -> 50000 ) .
you can print table's data, save to pdf, csv or copy .
you can navigate data using the arrows or the numbers at the bottom to display the next page.
you can select the table you want on the bottom of the page.


- you can use the search box to search records in the selected table with the value you want.
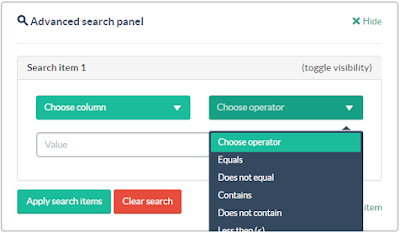
- if you want more advanced search click on the mor options gear.


- now if you want to add more records just click on the "+ Create New Record" button and a form will show up.


- and to delete or edit a record just click on the right icons of the selected data


- When You Click On The Edit Icon a Form Will Show So You Can Change The Data You Want.


4 - Column

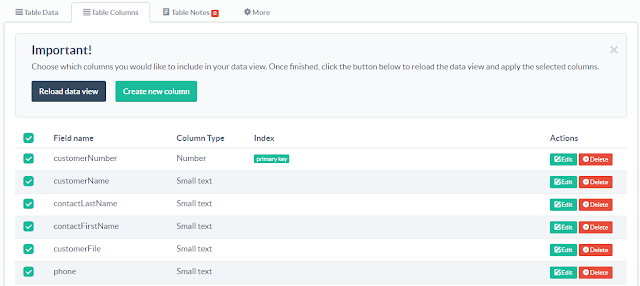
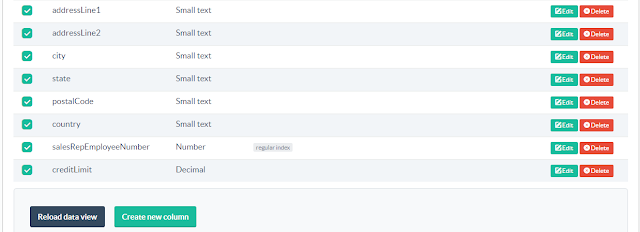
- to view the selected table columns, click on the column tab in the top


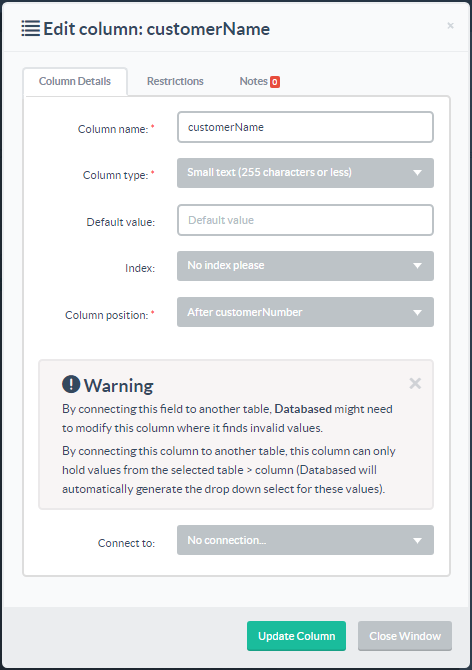
- if you want to add a new column click on the "Create new column" button.
- after that just fil up the data name, type and more.


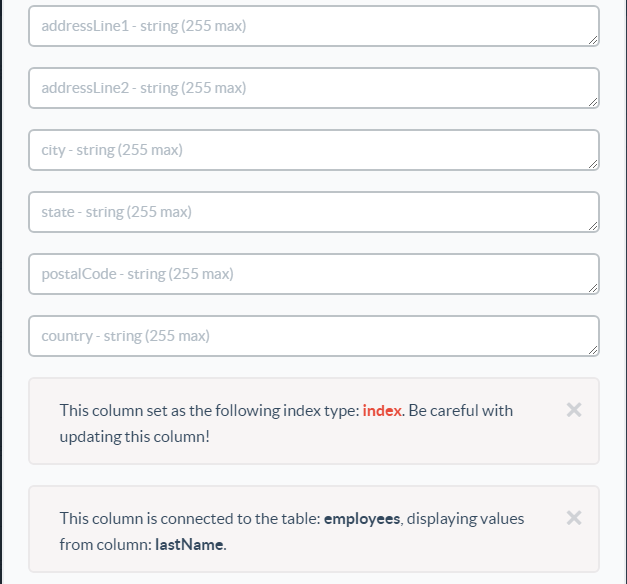
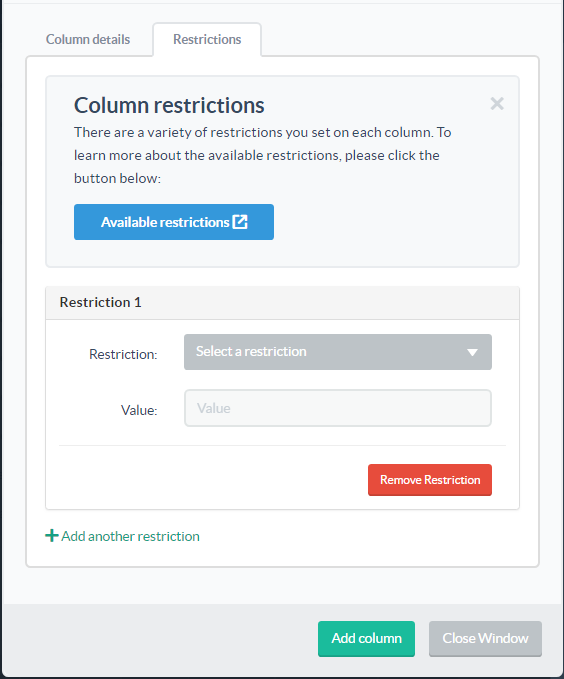
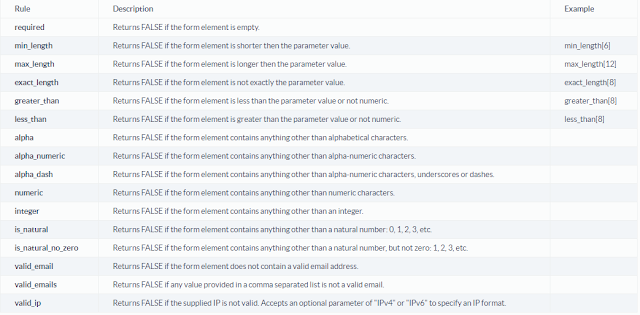
- before adding a new column you must check out the column restrictions .
- or you can add a new restriction if you need to.


- when you click on the "Available restrictions" a new page will open with all the restrictions.


- now to edit a column click on the edit icon on the right.


- in the note Tab you can put a note relative to this table ( the selected table )


- in the "more" you can remove permanently the table or edit the table name


5 - Users

- to add a new user to manage the databases go to the top menu and click on "users"


- you will be redirected to a new page where you can see all the users or add a new one.


- to add a new user just click on the "+Create New User" button .
- all you have to do now is to fill the new user data.


6 - Roles & Permissions

- Every User You Create Should Have a Roles With Specific Permissions Asigned to Him.

- you can view or create a new role by selecting "Roles/Permissions" on the top menu.


- you can view the Permissions On Each Table For The Selcted User


- You Can Create a New Role By Clicking the "+Create New Role" button.


7 - Files

- to view the files on your database click the "Files" on the top menu.


- now you can view all the files name in the database.
- you can view the file or deleting it by clickng the red icon


7 - Account

- if you want to edit your account informations click on the drop-down menu in the top and select account.


I Hope You LIked This PHP Databases Management System.


if you want the source code click on the download button below


Courses you may like:


▶ Download More PHP Projects Source Code